Create Groups in Attendant Console
Read time: 42 s
Table of Contents
The Attendant Console allows you to quickly and easily transfer calls. Groups help make this process even more accessible.
Note
The Attendant Console already stores your Favorite contacts as a group.
How to Create Groups in the Attendant Console
- Log in to the Client Portal.
- Click the Attendant Console button at the top of the page.
- Under the Contacts tab, click the plus icon on the right side of the page.
- Enter your group name.
- Select the contacts you want to comprise the group.
- Click Save.

Success!
You can see the group you just created next to the plus icon you used to create the group, and the contacts you selected will display in the contact list.
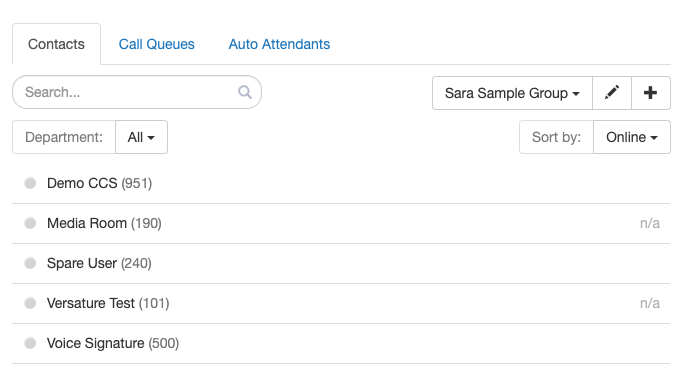
You can edit or delete the group by clicking the pencil icon next to the group's name.

Tips!
- Keep your groups updated as people move in and out of various roles in your organization.
- Group all of your conference rooms together for faster call transfers.
- Create groups of contacts that work together but are in different departments.